
Exploring the Future
AI for Beginners
Objective: Learn how to create chatbots and virtual assistants based on ChatGPT.
Contents:
- Progettazione di un’interfacecia utente per un chatbot.
- Integration of ChatGPT in an application or web site.
- Management of conversations and dialog flow.
- Monitoring and improving the performance of the chatbot.
Transcript of the lesson
Welcome to the fourth lesson of our ChatGPT course. In previous lessons, we explored the fundamentals of ChatGPT, data preparation, and response optimization. In this lesson, we will focus on creating chatbots and virtual assistants based on ChatGPT. Remember, If you missed the previous lessons, you can find them on the Youtube channel, You can also leave a like or a comment to our Facebook page and perhaps visit our website. But now let’s get started.
Today we will explore how these intelligent virtual assistants are transforming the way we interact with businesses and simplify our daily lives. You will surely have experienced some of them. Did you like them? Did they irritate you? Were they useful to you? Clearly every revolution begins with false starts and mistakes. But there is no doubt that chatbots offer numerous advantages. Among the most important applications are 24/7 Customer Service, the automation of repetitive tasks and Learning and Training assistance.
The first step in creating a chatbot is designing the user interface. You should decide where and how users will interact with your chatbot. This could be on a website, in a mobile app or on a messaging platform. But no problem, a WordPress plugin will support us and not even a single line of code will be necessary.
Once you’ve designed the user interface or figured out the plugin, you’ll need to integrate ChatGPT into your system. You can do this using OpenAI’s API or libraries and SDKs available for different programming languages. We’ll make it as simple as possible, but feel free to experiment with something else.
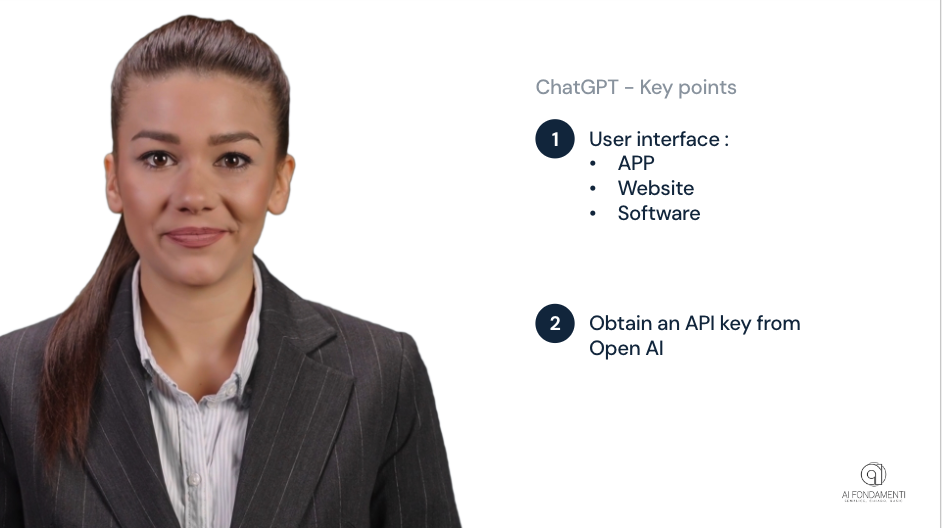
To obtain an API key from OpenAI, you must authenticate with your account created in lesson 1. Once registered and logged in, you can proceed, choosing API and not ChatGPT as always and you will get to the part that manages the keys. You will find lots of information and examples in case you want to learn more. They are in English, but you can translate them with ChatGPT into different language.
But let’s create the keys: access the menu at the top right, clicking on your name and choose view API Keys.
Since this is your first login, you do not have API keys. You can proceed to create one. Click on “Create new secret key”. Indicate a name for the key, it will help you remember where you will use it and what it is used for.
Once you have generated the API key, make sure to save it in a safe place. It is an important secret that allows access to OpenAI services. It will not be possible to view it later.
To copy it, use the symbol to the right of the key created.
As mentioned, you can no longer see the code but you can always see the keys created, with information on when they were created and if they were used.
You can change the name of the key, if for example you had not given a descriptive name, and you can also deactivate them, but be careful you must always have one active.
Now let’s move on to the wordpress plugin. I chose a free one, pretty basic, but fine for our example. I will install it on our website.
First access the plugin page. You will find the link here (https://wordpress.org/plugins/chatbot-chatgpt/). Download the plugin and let’s take a look at the instructions.
It is always important, before continuing, to look at the installation information and check the reviews in the case of a production site and not an experiment.
The instructions, if well described, will save us precious time and solve many potential problems.
To begin the process, you will need to log in to your WordPress site via the admin panel. Now it’s time to install the plug-in.
In the left sidebar, look for ‘Plug-ins’. Click on the item to access the section.
Next, click on ‘Add New’ to begin the installation process. Here you have two main options: you can search for a specific plugin or load a previously downloaded one. We choose the second and load what we had downloaded. After installation, don’t forget to activate it by clicking on ‘Activate plugin’.
Now let’s move on to the configuration phase.
First of all we need to set the API-Key. Do you remember? we got it from the OpenAI site a few minutes ago, and now we can paste it into the first field. OpenAI API Keys allow access to OpenAI services, including the GPT-3 language models. These keys allow developers to integrate OpenAI’s powerful NLP into applications, websites and services, allowing them to generate text, translations, analytics and more. The API Keys act as authentication keys, guaranteeing secure and controlled access to OpenAI services. Let’s save and continue.
Now let’s move on to the ChatBot customizations, the useful ones and, why not, the frivolous ones. For example, let’s change the avatar. with someone we like more. Once we have identified the favorite, select it and save. After installation, go to the ‘Settings – Chatbot ChatGPT’ page, then click on the ‘Knowledge Navigator’ tab and start a scan of your site.
Once the customizations are finished, it’s time to insert the short-code that will make the chatbot visible. For example, I insert it at the bottom of the Italian home page, but you can also put it in a footer widget, to make it available everywhere. Inserted and saved, let’s see what effect we got. And there it is, up and running. We can personalize it further, or we can start asking it questions. It will respond as OpenAI would respond, using the information it has.
Let’s see how he reacts if I ask him to speak a different language,
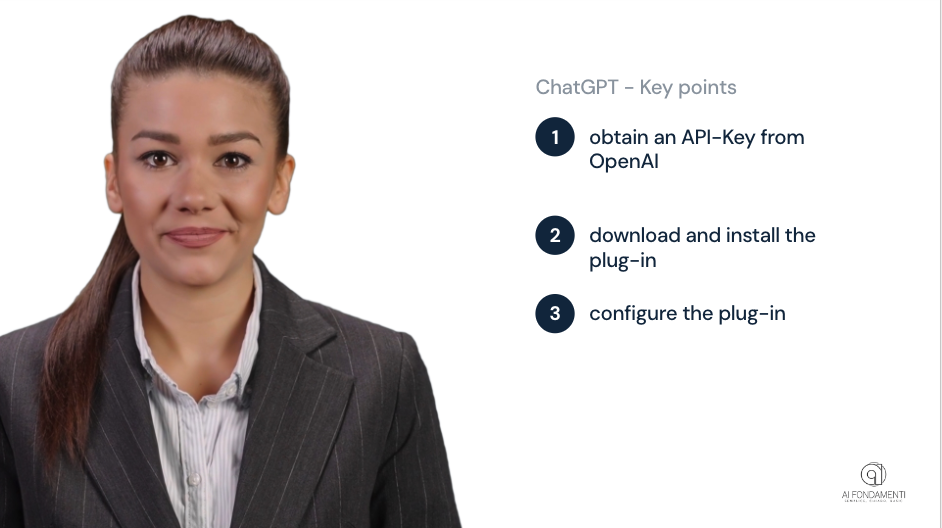
Summarizing the steps we took:
1) obtain an API-Key from OpenAI
2) download and install the plug-in
3) configure the plug-in.
None of these steps require specific technical knowledge and are therefore accessible to everyone.
In this lesson, we explored the process of creating chatbots and virtual assistants based on ChatGPT. In the next lesson, we will address important issues related to ethics, privacy, and security in the use of this technology.
Remember that you can find the transcript of the lessons on the our website , complete with exercises and in-depth information.
Thank you for taking this lesson. Continue with the course to deepen your skills in using ChatGPT. See you next time!
Leave a Reply